Introduction
I’m a bit stuck in the process of setting up a Vue 3 development environments on AWS Cloud9 using Vue CLI v5, so I’m leaving this as a reminder.
The following is the environment for this project. Vue CLI will be installed in the procedure to be explained later.
$ node --version
v16.14.0
$ vue --version
@vue/cli 5.0.1
$ npm --version
8.3.1
Intended Audience
This article is intended for people who
- wants to set up a Vue 3 development environments on AWS Cloud9 using Vue CLI v5.
Procedure
Install Node.js
Node.js is required to use Vue.js. AWS Cloud9 has installed Node.js by default, so make sure Node.js has been installed by excecuting the following command.
$ node --version
v16.14.0
Install Vue CLI
Perform a global installation of the Vue CLI with npm. It is best to think of a global install as a way to install new commands for the entire server, rather than installing libraries to be used on a per-project basis.
$ npm install -g @vue/cliMake sure that it has been installed.
$ vue --version
@vue/cli 5.0.1
Create a Project
Create a project with Vue CLI, that is installed just now. In this article, I will create a project named “myproject”.
With Vue CLI v5.0.1, you can choose between Vue 2 and Vue 3. This time, I will choose Vue 3.
$ vue create myproject
Vue CLI v5.0.1
? Please pick a preset: (Use arrow keys)
❯ Default ([Vue 3] babel, eslint)
  Default ([Vue 2] babel, eslint)
  Manually select features
Install Modules
Change the current working directory to the project directory and install the modules. If you execute the npm install command with no arguments, it will install the packages to node_modules (the installation directory) based on the information of the package.json in the current directory.
$ cd myproject
$ npm install
Edit vue.config.js
Edit vue.config.js located in the project directory. vue.config.js is an optional configuration file automatically loaded by @vue/cli-service.
webSocketURL settings and allowedHosts settings are added. There are some disruptive changes in Vue CLI v5 from Vue CLI v4, and the following settings are required when using Vue CLI v5. (Disruptive changes in Vue CLI v5)
* If you do not configure webSocketURL, you will fail to load the screen.
* If you do not configure allowedHosts, invalid host header errors will occur.
const { defineConfig } = require('@vue/cli-service')
module.exports = defineConfig({
  devServer: {
      client: {
          webSocketURL: 'ws://0.0.0.0:8080/ws',
      },
       allowedHosts: 'all',
  },
  transpileDependencies: true
})
Run a server
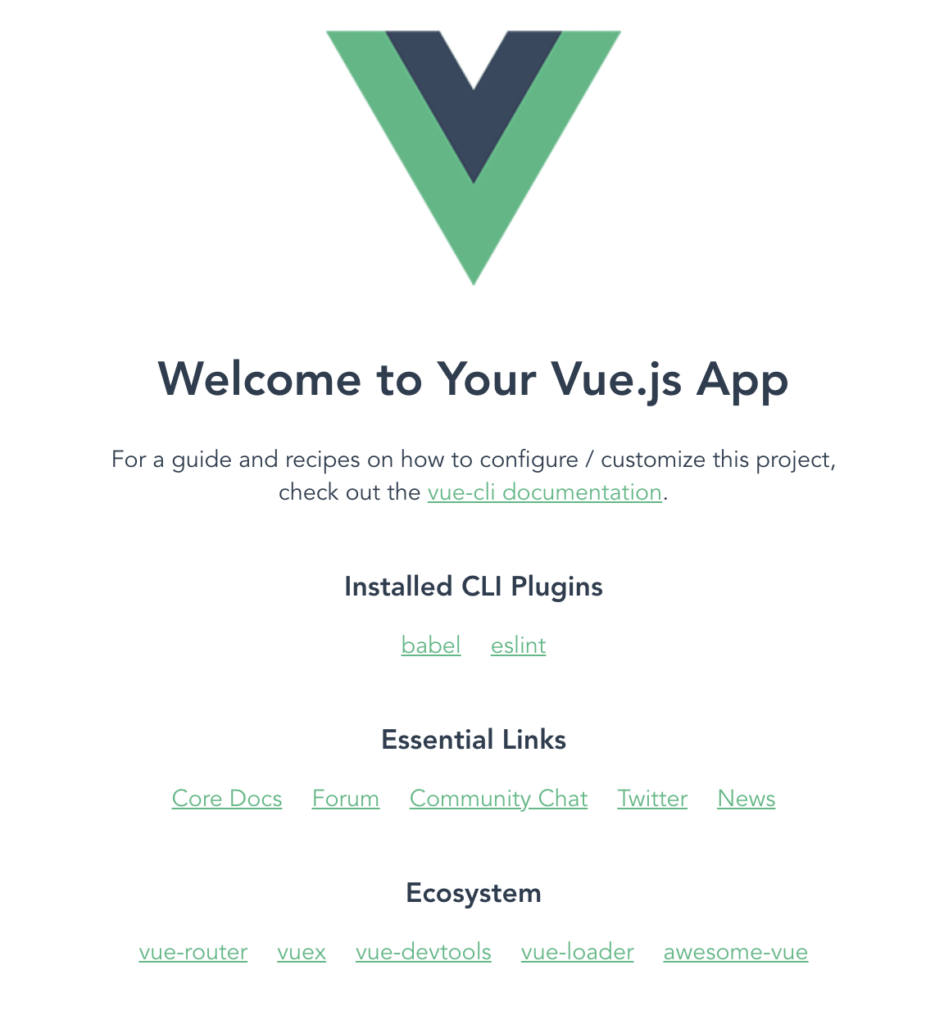
$ npm run serve --openCongratulations! You’ve got your server up and running!

Conclusion
This article is a summary of the steps to set up a Vue 3 development environments using Vue CLI v5 and AWS Cloud9. Please refer to it when you set up development environments with Vue CLI v5 and AWS Cloud9.


コメント